Difference between revisions of "Nesting Setup SC2008"
From NavykI
Navykisysop (talk | contribs) |
Navykisysop (talk | contribs) |
||
| (8 intermediate revisions by the same user not shown) | |||
| Line 21: | Line 21: | ||
**if there is already a nest dwg you can delete it and insert a new one from a SC2005 project using insert option. | **if there is already a nest dwg you can delete it and insert a new one from a SC2005 project using insert option. | ||
**SC Nest template /Define border | **SC Nest template /Define border | ||
| − | |||
**SC Nest template/update from previous version | **SC Nest template/update from previous version | ||
| + | **Check if all keywords were changed from 2005 to 2008; if not can be inserted manually : SC nest template/Insert keywords. | ||
| + | Here you must take care to set up the text style | ||
| − | + | [[Image:Keywords.jpg]] | |
| − | * | + | |
| + | *7.Customize the acad table style which will contain all the parts from every nest. | ||
For this the steps are: | For this the steps are: | ||
| − | + | ||
| − | + | *Acad/Format/table style/Create new table style - based on standard and name it: the name must be the same with the name from naming convention. | |
| − | + | ||
| − | #The table inserted will be small, drag it to make it bigger and set up manually the width for | + | [[Image:table name.jpg]] |
| + | |||
| + | *For cell type '''data''' and '''header''' set up the tabs :''general'', ''text'', ''borders''.When ready set current. | ||
| + | |||
| + | [[Image:data general.jpg]] | ||
| + | |||
| + | [[Image:data text.jpg]] | ||
| + | |||
| + | [[Image:data Border.jpg]] | ||
| + | |||
| + | *8.SC Nest template/ insert BOM table. | ||
| + | |||
| + | [[Image:BOM step1.jpg]] | ||
| + | |||
| + | [[Image:BOM step2.jpg]] | ||
| + | |||
| + | #The table inserted will be small, drag it to make it bigger and set up manually the width and text alignment for columns and rows taking care for paint to let more space. | ||
Save the template file and than go and create nest file and in every nest file insert nest plate.The procedure is almost the same as in 2005. | Save the template file and than go and create nest file and in every nest file insert nest plate.The procedure is almost the same as in 2005. | ||
In 2008 do not exist assign to nest. The parts moved in nest are becaming automaticaly assigned. | In 2008 do not exist assign to nest. The parts moved in nest are becaming automaticaly assigned. | ||
[[Category: ShipConstructor]] | [[Category: ShipConstructor]] | ||
Latest revision as of 15:02, 10 September 2009
Make the project setting for nest in the order mention below right after creating the project database.
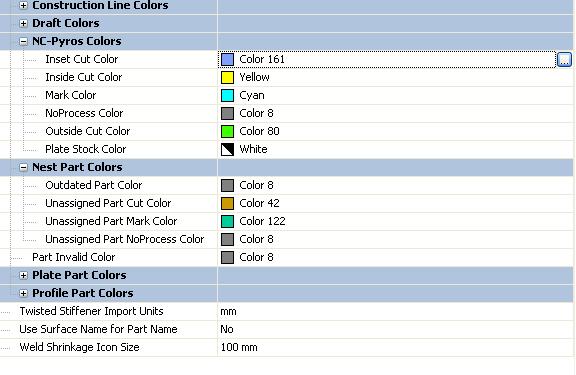
- 1.Manager/General/Project settings/Structure/Structure colors/Nest parts and NC-Pyros colors in order to set up the correct NC process colors.
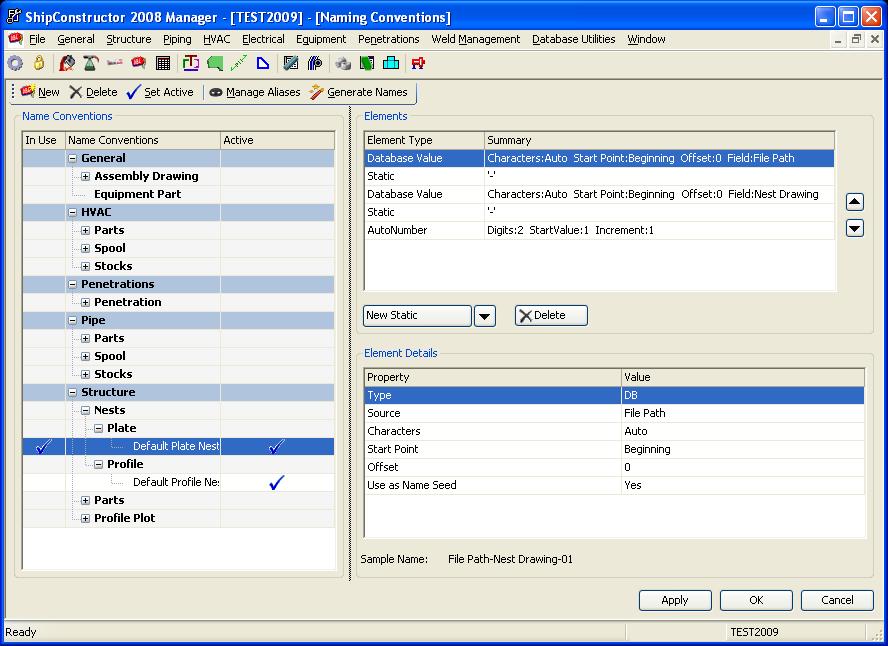
- 2.Manager/General/Naming convention - nesting requires a naming convention.
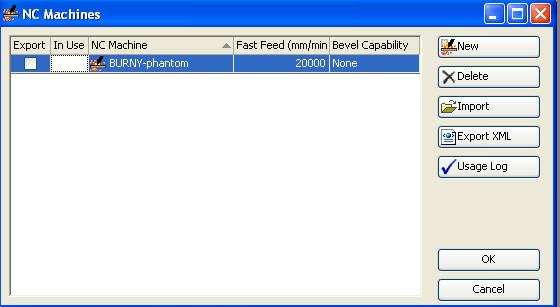
- 3.Manager/Structure/Plates/NC machines - add the name and fast feed.
- 4.Manager/Structure/Stock catalog- for creating plate stock, edit different plate sizes and add stock to inventory.
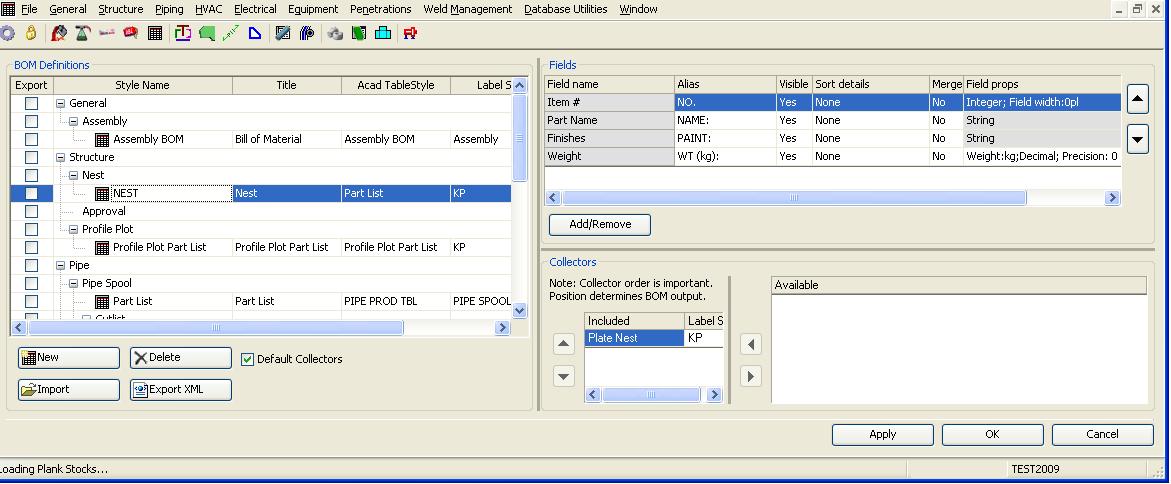
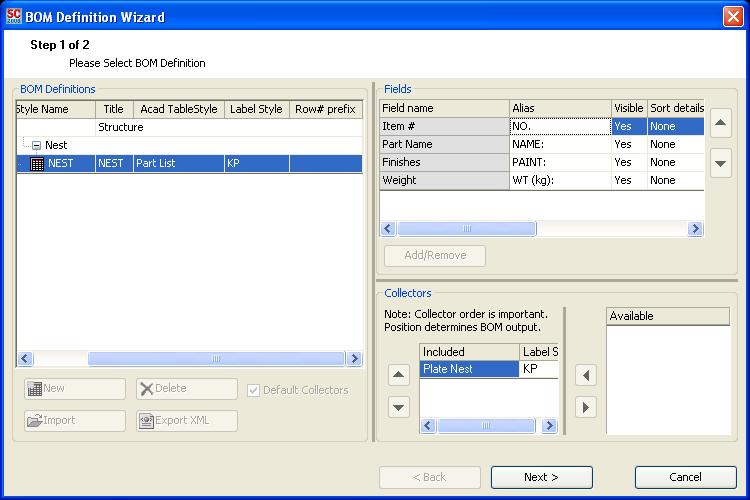
- 5.Manager/General/Production output/Bill of Materials. Important: the name you give for Acad Tablestyle must be the same with the Table style name you will create later in the nest template drawing.Label style must be KP or KP-25, Navyk, etc function of project.
- 6.Navigator/Templates/Nest01 - in order to set up the nest dwg.
Here must be made the same settings like in every acad dwg for:units, text style, dimension style,linetype scale. Than the steps are:
- if there is already a nest dwg you can delete it and insert a new one from a SC2005 project using insert option.
- SC Nest template /Define border
- SC Nest template/update from previous version
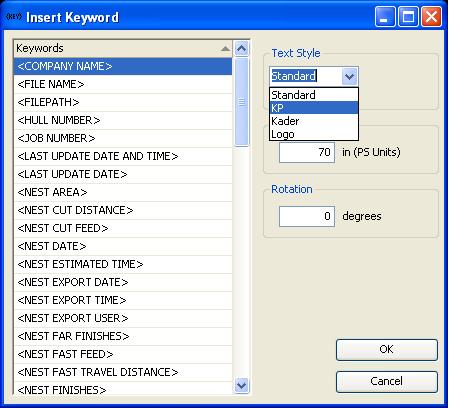
- Check if all keywords were changed from 2005 to 2008; if not can be inserted manually : SC nest template/Insert keywords.
Here you must take care to set up the text style
- 7.Customize the acad table style which will contain all the parts from every nest.
For this the steps are:
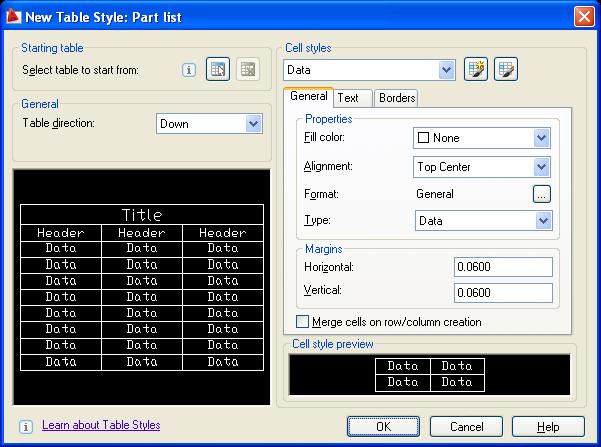
- Acad/Format/table style/Create new table style - based on standard and name it: the name must be the same with the name from naming convention.
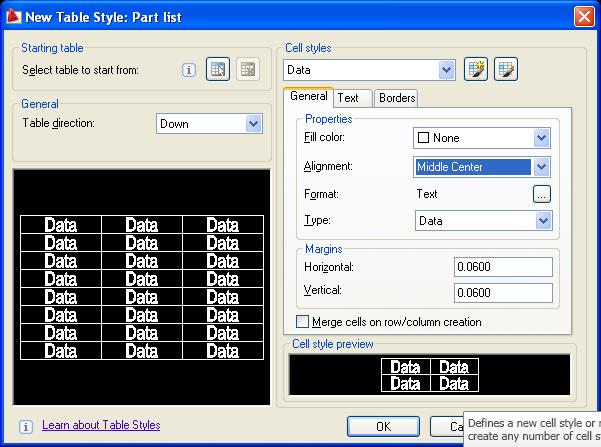
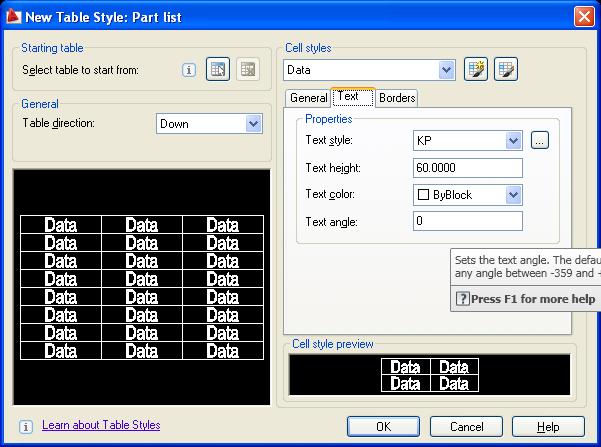
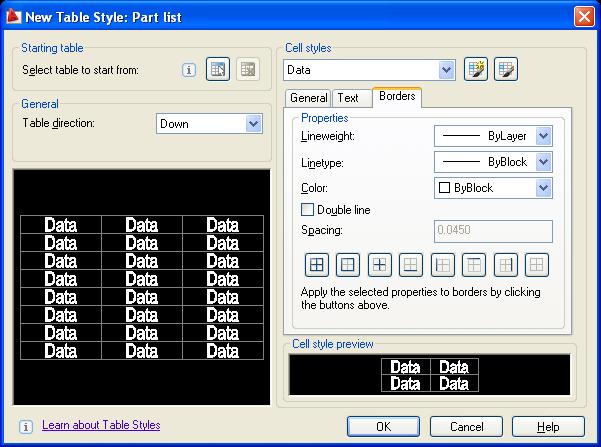
- For cell type data and header set up the tabs :general, text, borders.When ready set current.
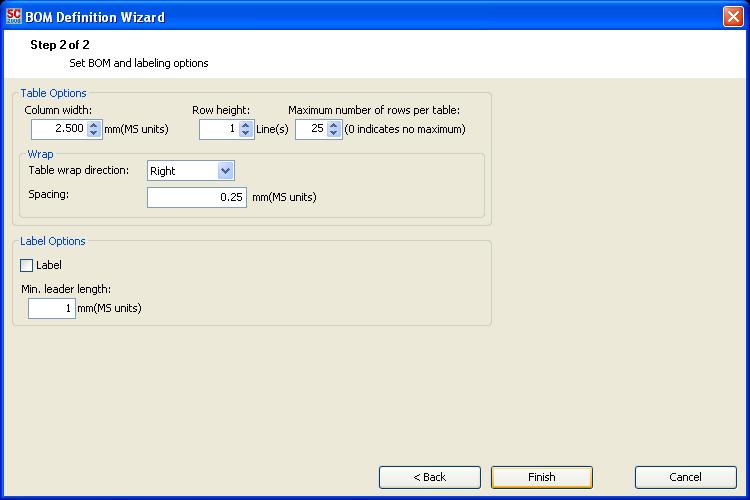
- 8.SC Nest template/ insert BOM table.
- The table inserted will be small, drag it to make it bigger and set up manually the width and text alignment for columns and rows taking care for paint to let more space.
Save the template file and than go and create nest file and in every nest file insert nest plate.The procedure is almost the same as in 2005. In 2008 do not exist assign to nest. The parts moved in nest are becaming automaticaly assigned.
