Difference between revisions of "Install an existing SC project"
From NavykI
| Line 9: | Line 9: | ||
*7.Copy the project just installed (source project) in the new project (see ‘Copy project’). | *7.Copy the project just installed (source project) in the new project (see ‘Copy project’). | ||
*8.Update SC Manager/reports with the data of the new project. | *8.Update SC Manager/reports with the data of the new project. | ||
| − | + | *9.Delete the project that was installed at ‘*1’(otherwise you will have in folder ‘Drawing’ two projects: one with the name of the installed project, one with the new name). | |
[[Category: ShipConstructor]] | [[Category: ShipConstructor]] | ||
Latest revision as of 11:32, 27 April 2010
- 1.Create the new project (see ‘Creating a SC 2005 new project’), using a random project template(create new unit? yes), but name it as the project you want to install, for the moment.
- 2.Start/All Programes/SC2005/‘Administrator’
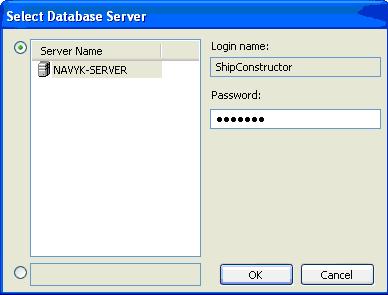
- 3.Login to Navyk-server, using Login name ‘ShipConstructor’, Password ‘ShipCon’
- 4.Select the database of the new project created, right click and select restore
- 5.Check user permissions in Administrator/Manager
- 6.The project new created has empty folders. You must overwrite on them the folders of the project which you restored or copied.
- 7.Copy the project just installed (source project) in the new project (see ‘Copy project’).
- 8.Update SC Manager/reports with the data of the new project.
- 9.Delete the project that was installed at ‘*1’(otherwise you will have in folder ‘Drawing’ two projects: one with the name of the installed project, one with the new name).
